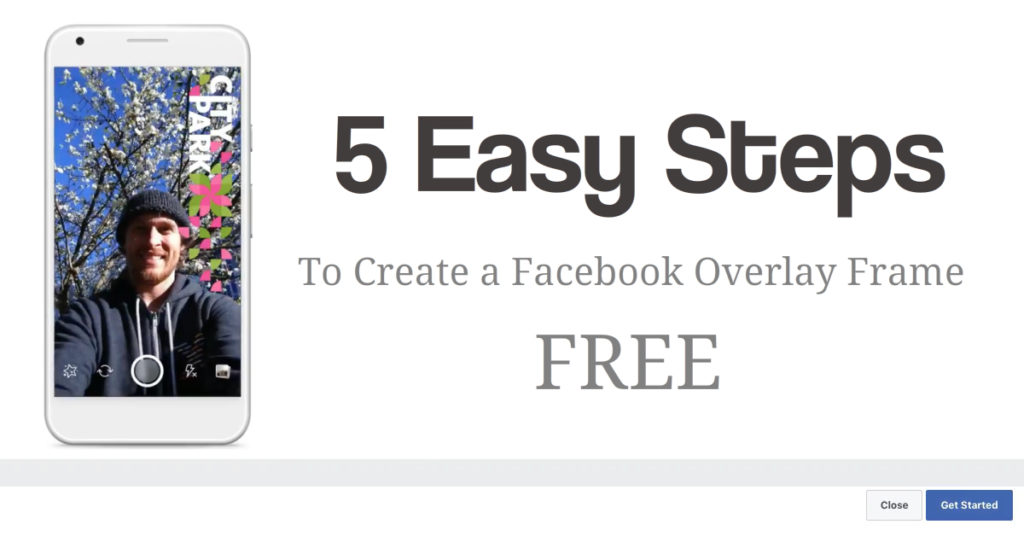
5 Easy Steps to Create Free Facebook Profile Frame Overlay
Facebook just launched their Facebook Profile Frame Overlay Maker giving access to anyone to create their own custom overly frames. In this article I am going to show you how you can do this for free.
Step 1) Go to Facebook Camera Effects Page to start creating your profile overlay frame.
Step 2) Click on “Open Frame Studio” under the Facebook Frame Overlay photo example.
Step 3) Click “Open Frame Studio” button in the top right corner to get started and begin the process of creating your custom Facebook frame. This will give you a popup window that you just need to follow the prompts.
Step 4) You must have designed a png graphic for your frame and you will need to upload it during this step.
For the Facebook Profile Frame Overlay design, Facebook would like the ideal size to be 600 X 600 pixels. Once you have created your design, upload it by clicking on the upload art button then size it accordingly.
Step 5) Finish the process by selecting where you want your frame to be shown. We recommend letting everyone use it unless you are looking for local users or users in a specific country. Now click submit and wait on Facebook’s approval. This normally takes between 1 and 3 days for approval or disapproval.
Want a little more detail? Below is a short exact How to Create a Free Facebook Profile Frame Overlay video.
We hope you enjoyed this blog and that your Facebook overlay frame is super successful.
